HOME
PRODUCTS
RESOURCES
SUPPORT
CONTACT
626.584.9706
HOME
PRODUCTS
RESOURCES
SUPPORT
CONTACT
626.584.9706
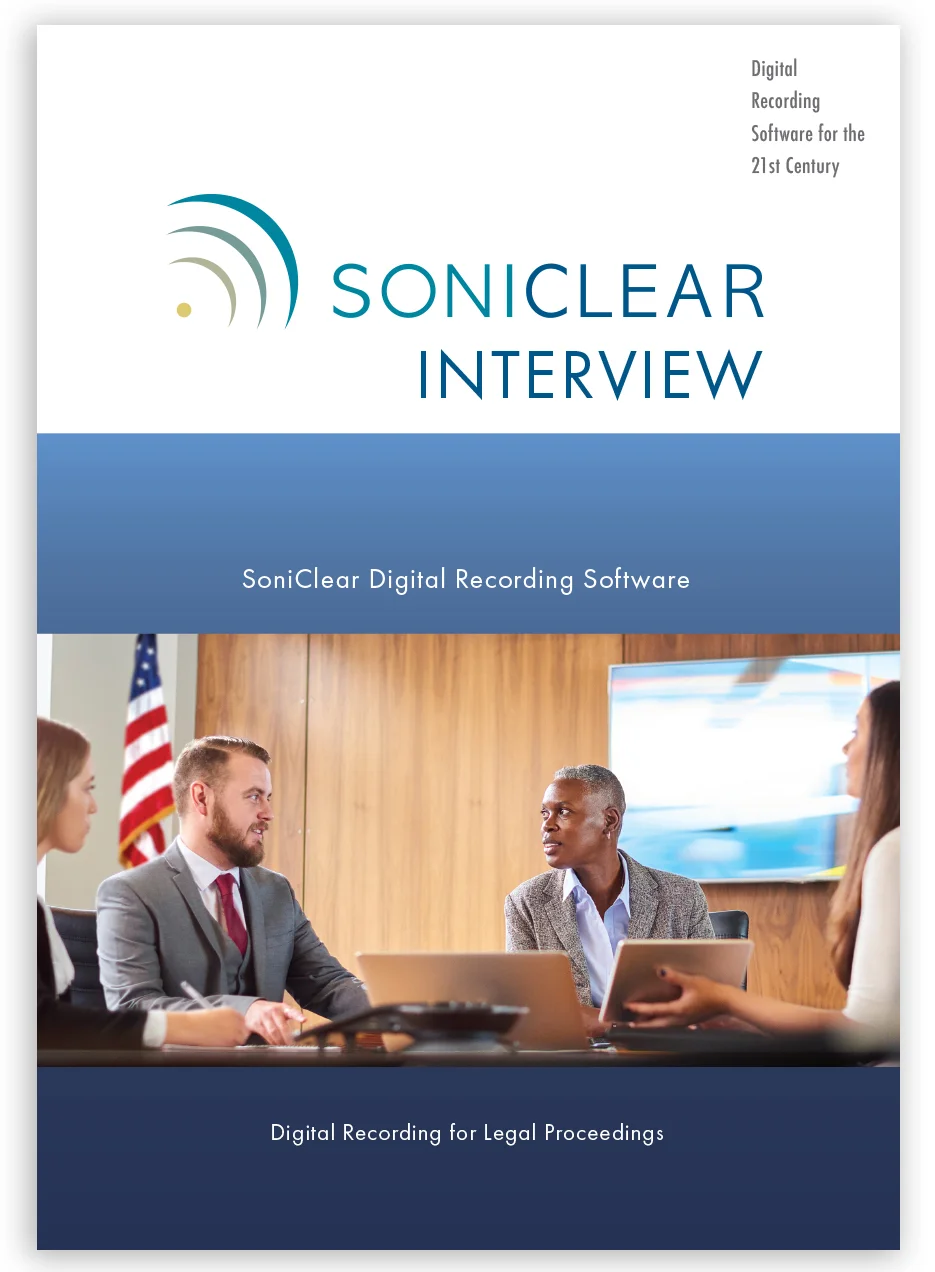
Recording Software Products
SoniClear digital recording software is available in four product variations for Windows.
MEETING RECORDER
10
INTERVIEW RECORDER
10
GOV RECORDER
10
COURT RECORDER
10
See All Products
Request a Quote
Contact a Product Specialist